Admit it, you wish Siri was on your Mac, and so do I. She stole my heart on iOS, and now every time I open up my MacBook, I feel something missing. Wouldn't it be great if we could, I dunno, hack Siri onto our Macs? Yeah, it would!
This is not an Apple-verified version of Siri. It more closely resembles something we'd find via Cydia on a jailbroken iOS device, but she talks like Siri and acts like Siri, so let's just call her Siri.
The program, currently in beta, is called Sinus, and it's a phenomenal app that all iOS users will be able to jump right in to and begin using. It works off of voice control, just like Siri, so you can use your built-in audio input or an external microphone to speak commands.
Note: You can also use "Silent Mode" to type to Siri if you don't want to talk, but that kind of defeats the whole purpose of Siri, doesn't it?
Step 1: Download Sinus
The only thing you need to download, besides from a voice pack (more on that later), is Sinus. You can download the latest preview version here. When it's finished downloading, double-click on the .zip file to extract it, then move it over to your Applications folder.
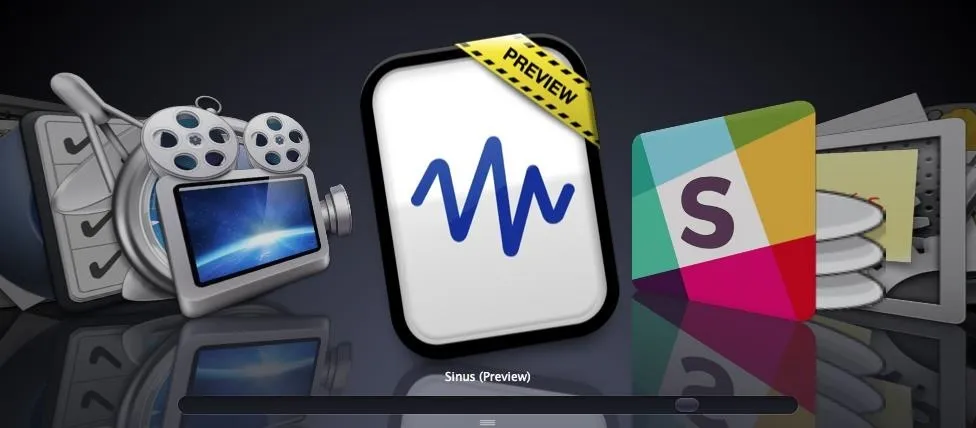
Sinus will work with Mountain Lion (10.8), Mavericks (10.9), and Yosemite (10.10).
Step 2: Boot Up Sinus
Double-click on Sinus to initiate the simple setup process, which will ask permissions for your Contacts, Calendar, etc. in order to do certain tasks related to those functions. You'll also need to "Agree" to the End-User License Agreement.
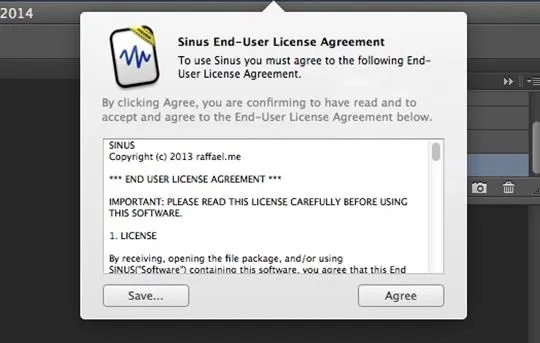
Note: If you get an error, or the program fails to respond, remember it's in beta, so simply repeat Steps 1 and 2 above to try again.
Now It's Time to Find Samantha
We are greeted with a male voice that is somewhat familiar to the Windows voice. He assures you that he is not the right voice to use and that Samantha would be a better option—Samantha is the Siri voice.
Samantha is a free download that you get directly from Apple, and here's how we get her.
Step 3: Download Samantha's (AKA Siri's) Voice
Open up your Mac's System Preferences and open up Dictation & Speech in the fourth row.

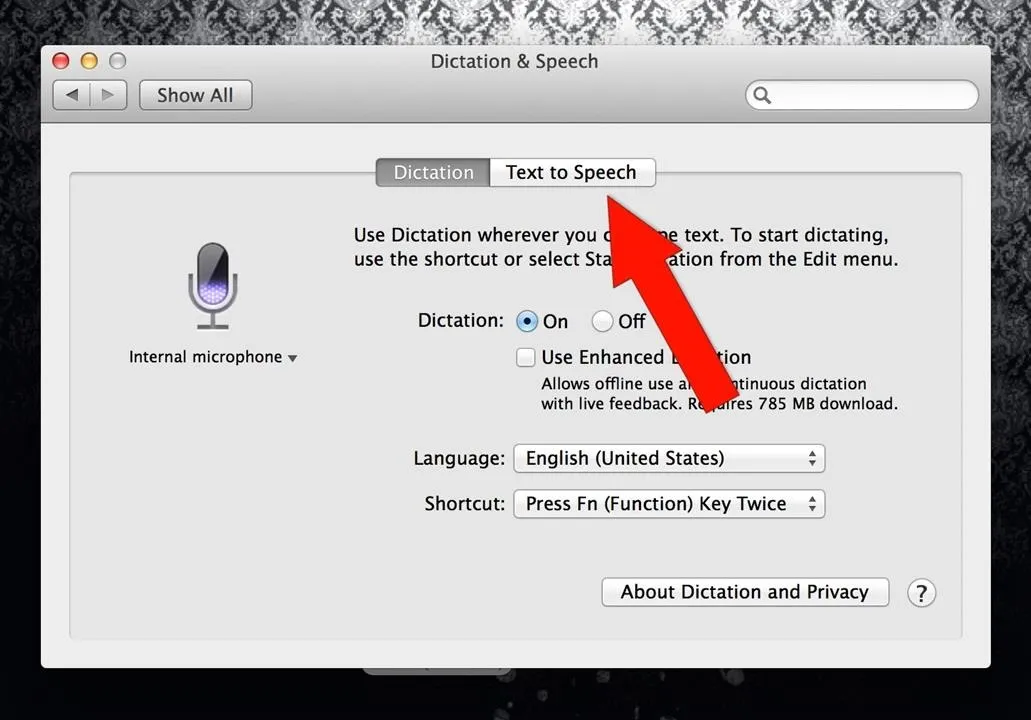
By default, Dictation & Speech will open up on the Dictation tab. Turn on Dictation, but leave "Use Enhanced Dictation" unchecked and head to Text to Speech tab.
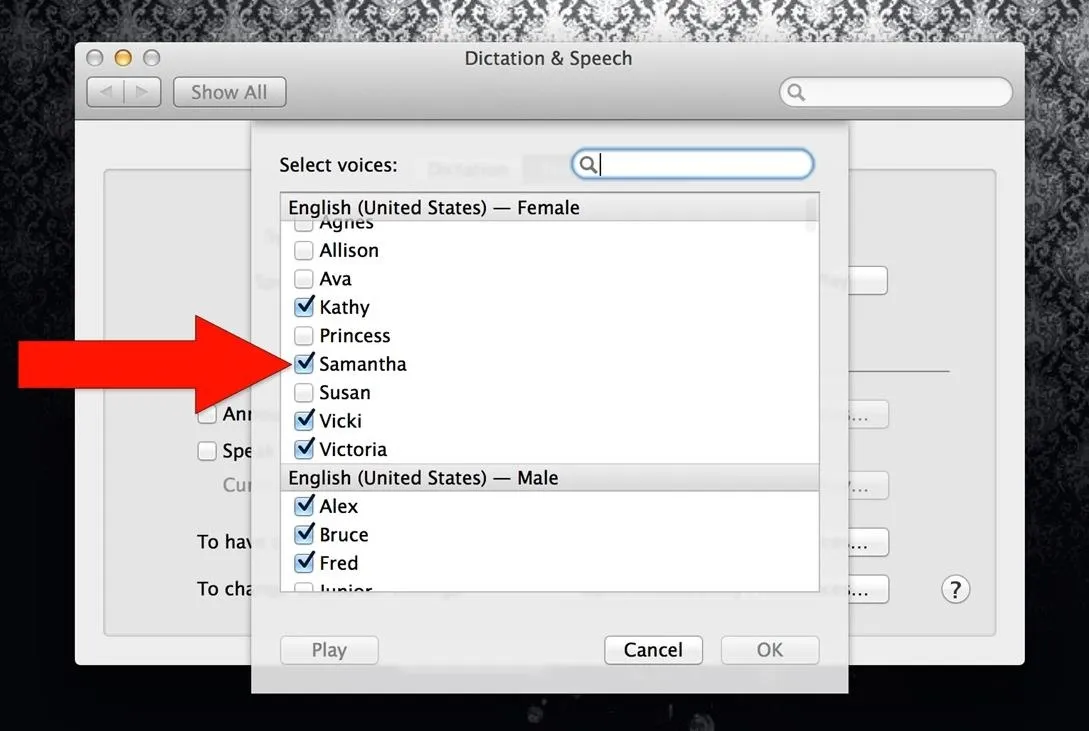
From here, select "Customize" from the drop-down box for System Voice.
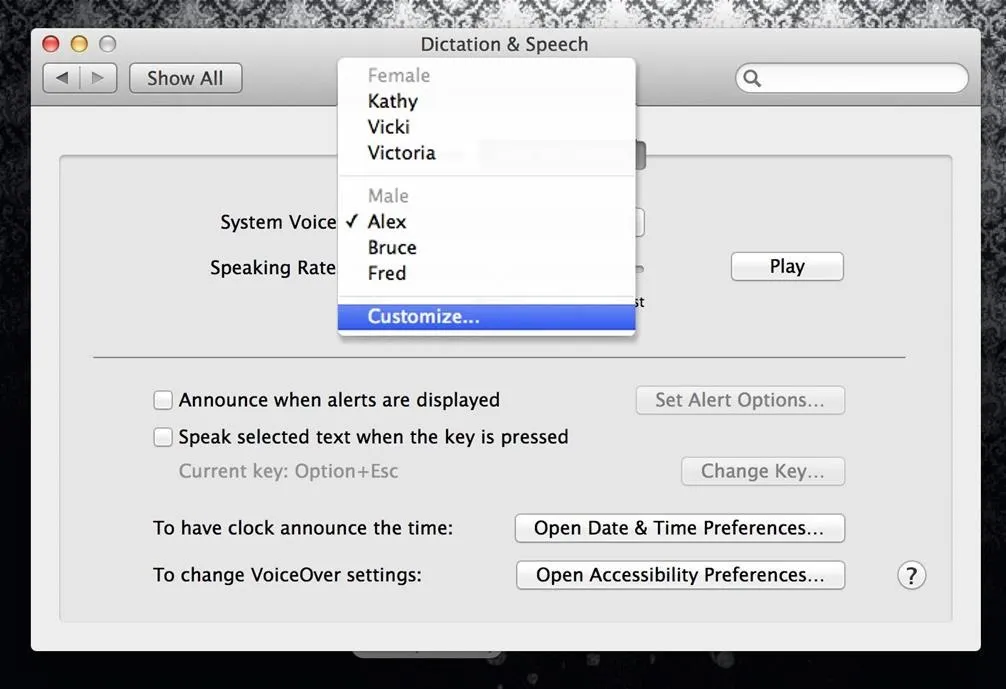
Scroll down until you find Samantha, then tick the box next to her. Hit "OK" and she will begin downloading.
Back to Sinus
Now that we have our "Siri" voice, it's time to start setting her up. If you haven't noticed, when you have Sinus open, it stays on in the background in the Mac bar with a symbol appearing to be a black rectangle.

Click on it to open up Sinus. It should always be there unless you quit the application or restart your computer.
Step 4: Change the Voice in Sinus
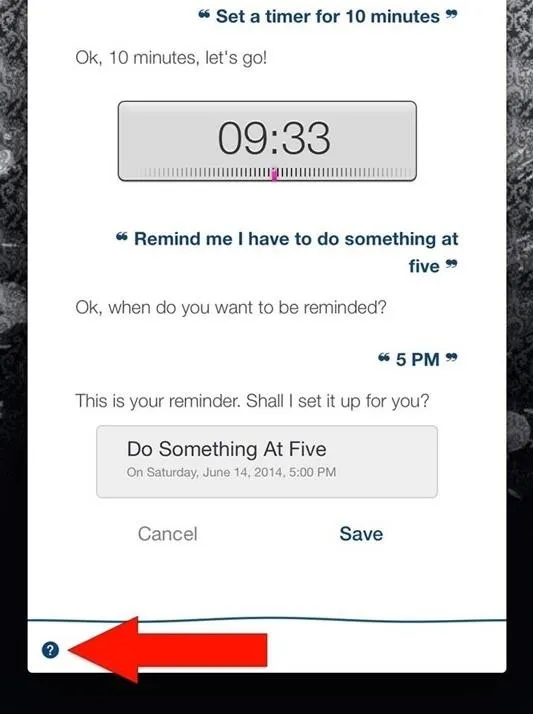
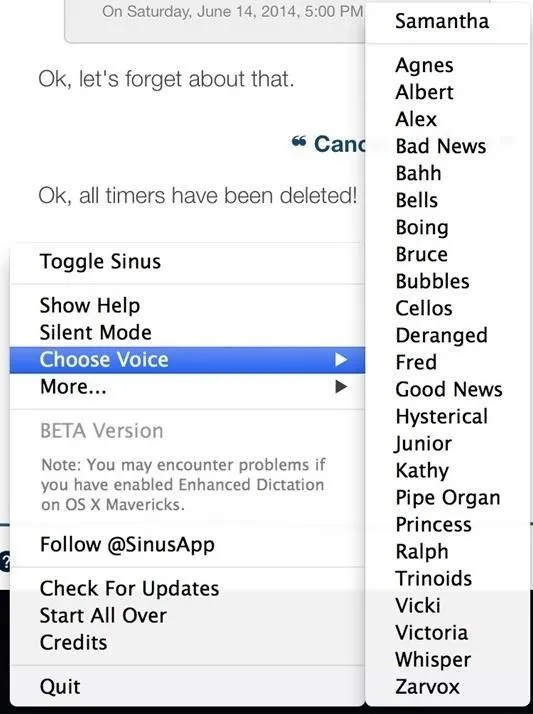
On the bottom-left of the Sinus window, click the blue question mark icon to open up the options. Highlight Choose Voice and select Samantha—she's the first option at the top of the list.


You Are Now Ready to Go
Siri is all ready to go on your Mac. Hit the enter key to begin speaking and giving commands. A list of commands is available under Show Help through the blue question mark.
Cover image via OS X Daily



Comments
No Comments Exist
Be the first, drop a comment!